How to Build a Rainwater Collection System

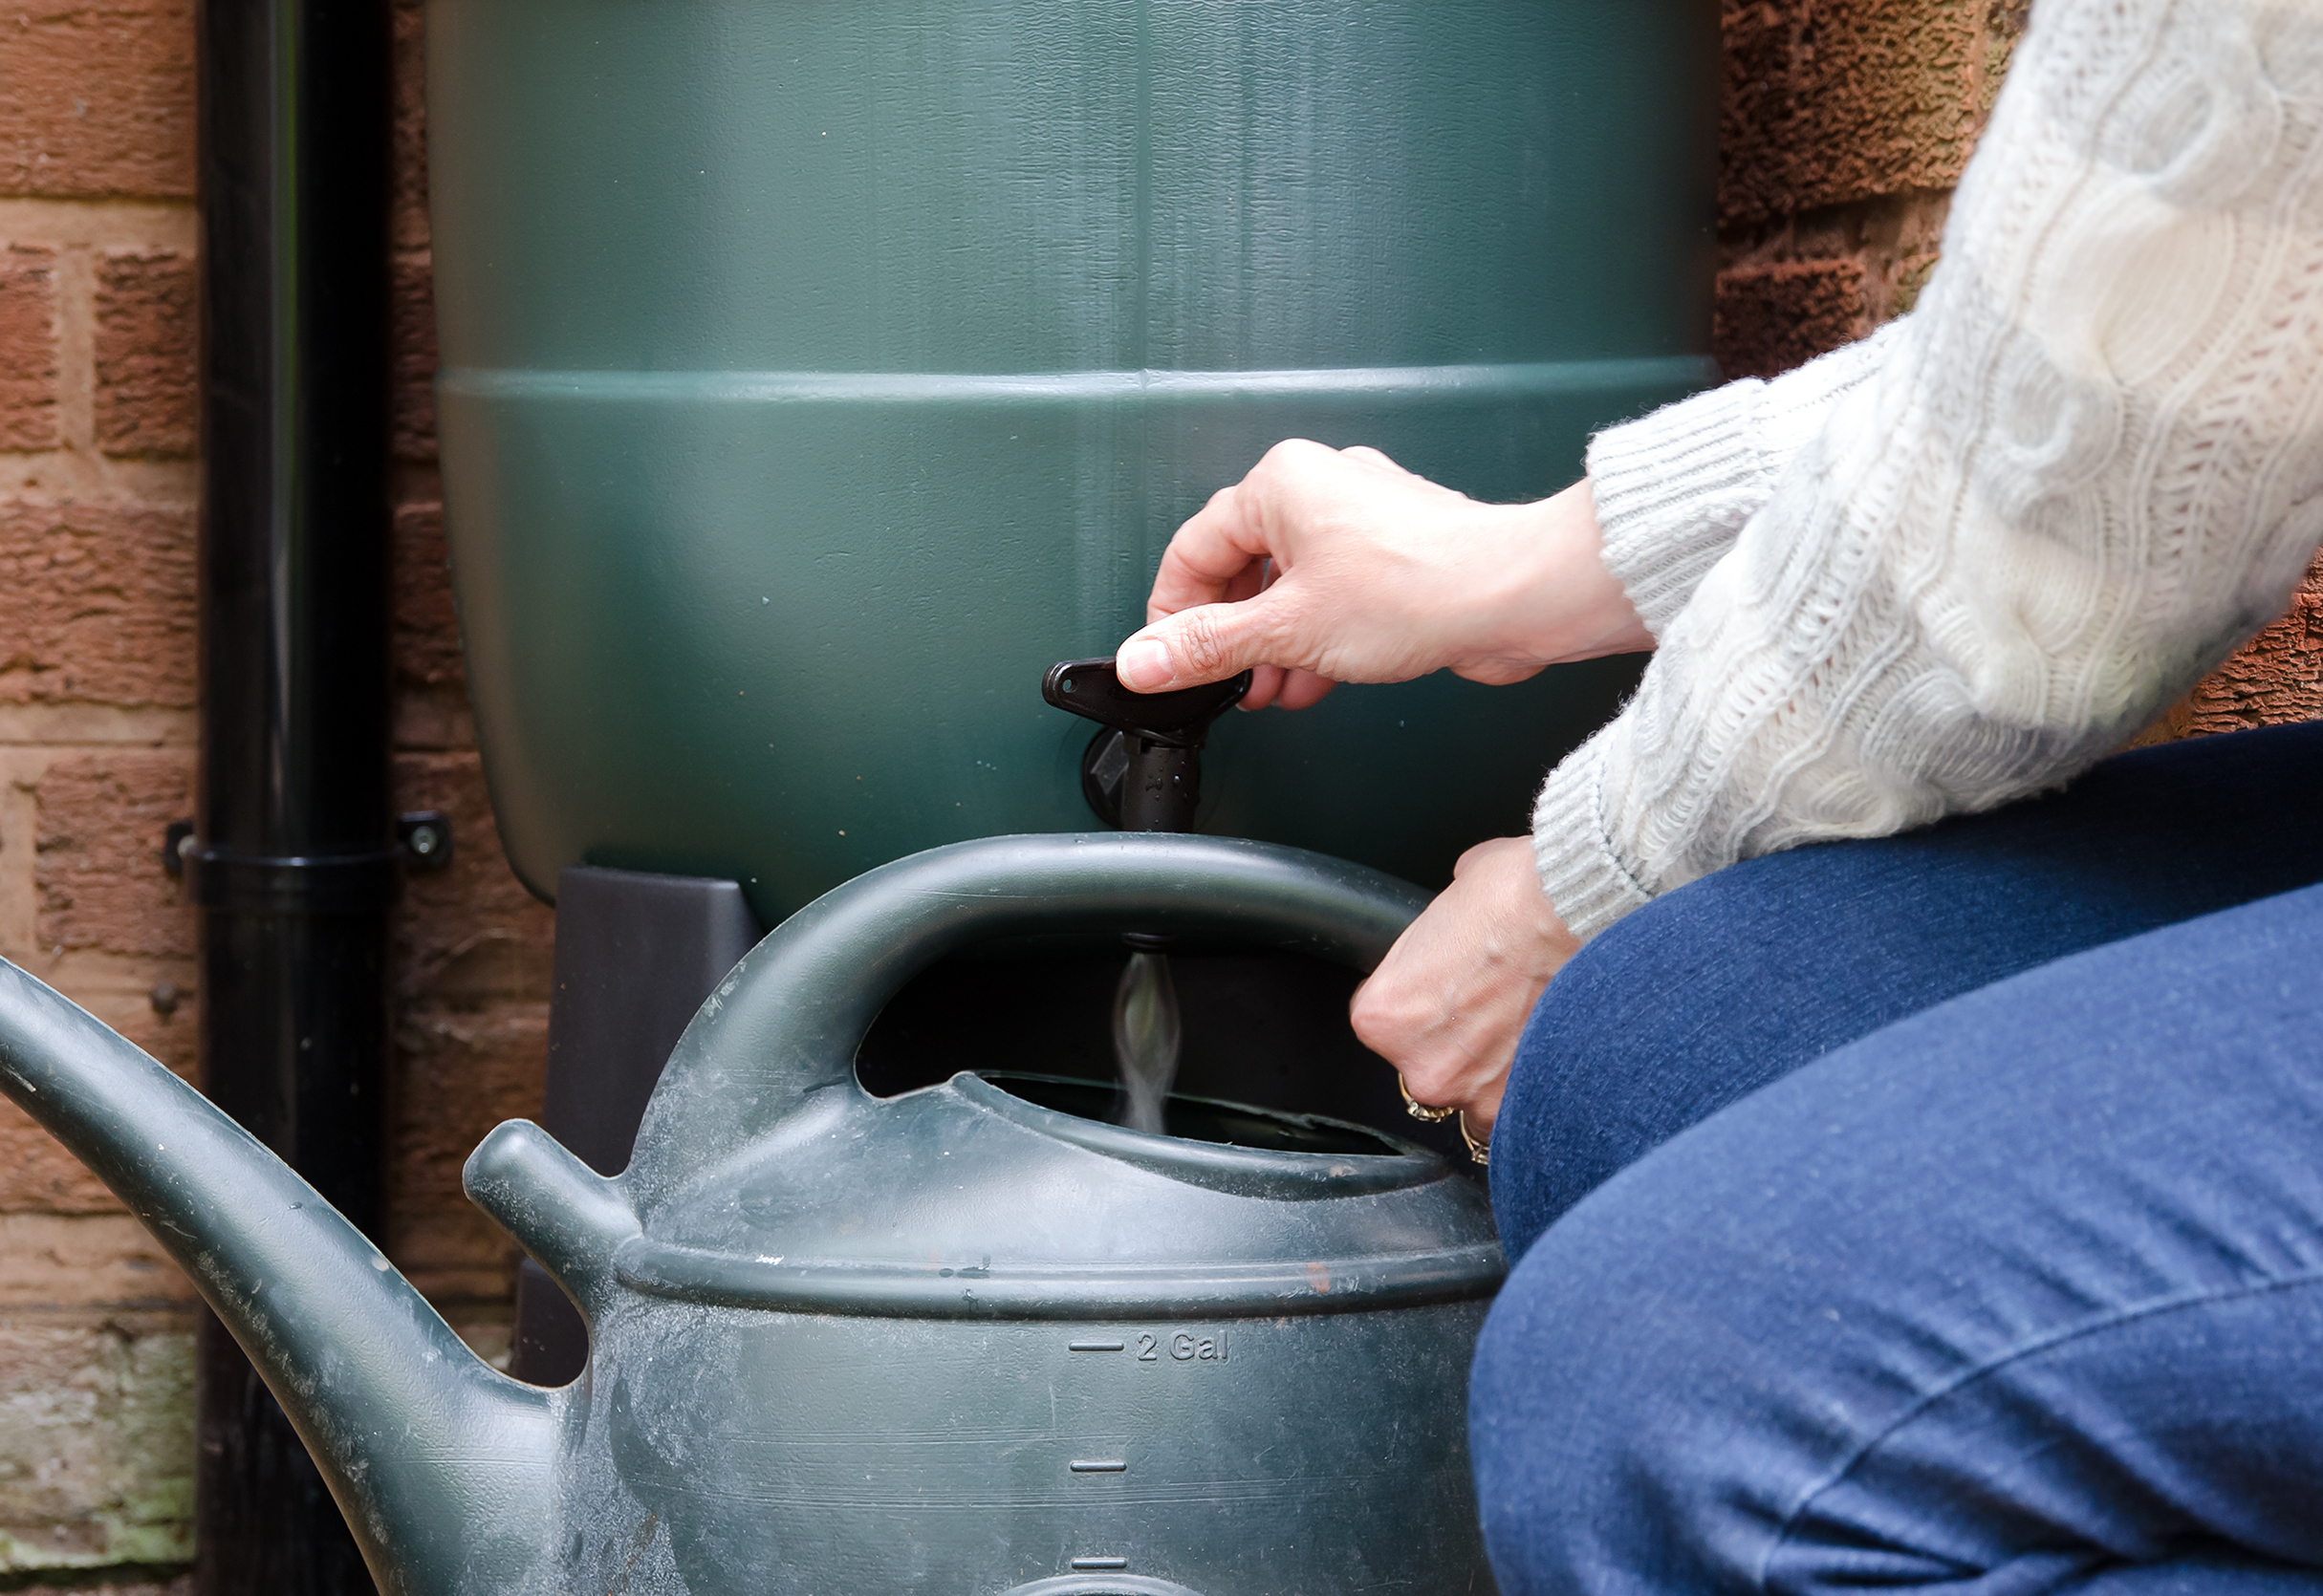
If you are searching for a way to save money on your water bill, you may want to consider harvesting rainwater on your property. Rainwater catchment systems capture natural rainfall via freestanding structures like a rain barrel or through a more complex system attached to your house and integrated into the gutterwork.
30-40% of total energy use in residential areas is related to water pumping and treatment, but by capturing rainwater, you can reduce your need for municipal water. Catchment systems can help save money and cut down on the amount of water you use daily. Plus, this water conservation practice allows you to take advantage of the rainy season by storing water to use later when precipitation is scarce.
Curious about how rainwater collection systems could benefit your home? Keep reading below.
What is rainwater harvesting?
Rainwater harvesting is the practice of collecting water to store and redistribute for use later. It can be leveraged as a tool to withstand unpredictable droughts for places characterized by a semi-arid climate such as Southern California.
Rainwater is also a great way to naturally water your plants since it’s free from chemicals like chlorine. Plus, it helps reduce the amount of water you send to your local storm drain system which can be overwhelmed by an influx of precipitation during a sudden storm.
Pro tip: If you really want to ensure that you’re saving as much money as possible on water costs, don’t forget to look into water-efficient landscaping. After all, if you have a water-intensive lawn or landscaping, you probably won’t see as much of a difference in your bill since high water usage means any cost-savings are largely going down the drain, so to speak.
Is it legal to collect rainwater?
While collecting water is legal according to federal law, there are some areas where their installation and the use of collected rainwater is restricted. However, there are typically restrictions around potable or indoor water use. You can’t simply catch rainwater and use it for drinking purposes. Drinking water has to go through proper treatment before it can be safely consumed.
In most cases, it’s easiest to use collected rainwater for irrigation purposes such as watering your lawn or garden. You may also be able to treat the water you collect and supplement your municipal supply of water for tasks like washing your clothes and other indoor non-potable uses.
Many state governments actually encourage rainwater collection and even offer tax incentives to do so. Organizations such as the American Rainwater Catchment Systems Association (ARCSA), for example, work alongside state governments to make private rainwater collection systems an option for citizens.
How much does a rainwater collection system cost?
The cost of your rainwater collection system is going to depend on a variety of factors including:
- Size
- Where you live
- Type of system you install
For our purposes, we will outline some general guidelines for building your own basic rainwater catchment system that is above-ground and attached to your property’s guttering.
Types of rainwater harvesting systems
There are two main types of rainwater harvesting systems, above-ground and in-ground.
In-ground systems are typically much more complex to install and you’ll need a professional to install it. They’re also significantly more expensive, averaging out to about $12,000.
Above-ground systems, on the other hand, are an involved DIY project if you’re handy. It’ll only set you back a few hundred dollars for materials for an above-ground rainwater catchment system using rain barrels and will be even less if you can repurpose or recycle a container you already have.
Rainwater collection system installation
A DIY catchment system is a great way to take full advantage of one of nature’s most abundant resources: rain. (With that said, you might see lower volumes of harvested rainwater in areas with low precipitation - as you would naturally expect.)
Before you get started on this project, it’s important to compile the right materials and tools.
Tools needed:
- Adjustable open-end wrench
- Level
- Spade
- Ruler
- Pencil
- Drill
- Pop rivet gun with rivets
- Screwdriver
- Hacksaw
Materials needed:
- 1 clean 30-55 gallon barrel or garbage can
- 4 concrete blocks
- 1 piece of aluminum window screen
- 1 S-shaped downspout elbow
- 1 standard 1-inch hose spigot with ¾-inch pipe threads
Installing your rainwater collection system
Step 1: Start with a clean storage tank
Ultimately, the size of the rain barrel you want will depend entirely on personal preference and practicality. You’ll also want to consider the general rule of thumb that the average 25-foot by 40-foot home results in about 600 gallons of water in an hour of rainfall that totals 1 inch. The more rain barrels you have, the more you can potentially collect.
You can either buy a storage tank or find a recycled one, just make sure it’s thoroughly washed before you use it. If you opt to use a recycled container, make sure that it didn’t hold any toxic chemicals because it may be too difficult to clean away dangerous contaminants.
Step 2: Create a flat foundation and base
After you clean your rain barrel, it’s time to create a solid base to rest your rain barrel(s) on. First, flatten an area under the downspout from your gutter and fill the area with pea gravel. Pea gravel is essential because it will help with any overflow from your rain barrels and ensures that rainwater is filtered away from your home rather than seeping toward your foundation.
Place cinder blocks under the rain barrels to lift them off the ground. Remember, the higher the rain barrels are located, the better the water pressure will be. If you have multiple barrels, you can attach them together with short lengths of hose.
Step 3: Attach a downspout elbow to your gutter
This is how the water will be directed from your gutter to your rain barrel. Hold the new elbow above the top portion of the barrel and mark where the elbow will attach to the downspout, around 1 inch above it is ideal.
Then, mark 2 inches from the downspout to provide enough area for a solid connection between the downspout and the elbow. Use a hacksaw to cut the downspout and fit the elbow on. Fasten it down with either pop rivets or sheet metal screws.
Step 4: Drill your spigot hole
Drill a ¾ inch hole in the wall of the barrel. Squeeze a line of caulk both around the hole on the inside and the outside of the barrel. Then, connect the spigot and coupling, making sure to use Teflon tape on the threaded ends to ensure a tight seal.
Put on a washer and place the threaded end of the coupling through the hole from the outside. Then, put a washer on the thread located on the inside of the barrel and then fasten it all together.
Step 5: Create an overflow assembly
A few inches below the top of the barrel, make another ¾ inch hole. Similar to the process above, you’ll want to squeeze caulk on the outside and inside of the hole.
Then, place a washer on the hose adapter. Push the assembly through and secure it with the washer and Teflon tape on the threads. The final step is to tighten everything with a nut.
Step 6: Connect a hose to overflow valve
Connect a hose to your overflow spout to allow water to flow into the desired area like your garden. If your barrel has a covering, cut a hole with a piece of screen to guard against mosquitoes. Then, simply wait for rain!
Rainwater harvesting system maintenance
Below are the suggested maintenance procedures and schedules according to the EPA:
- Twice a year: Clear gutters and downspouts of debris such as leaves
- Four times a year: Inspect and clean the pre-screening, inlet filtration devices, and first flush devices
- Once a year: inspect and clean storage tank lids, especially near vents and spigots. Check mosquito screens and patch holes. Inspect the condition of the overflow system.
- Every three years: Inspect tank/barrel for debris buildup, inspect the structural integrity of the system and replace any faulty components
Cost benefits of rainwater collection systems
If you’re a homeowner considering investing in a rainwater collection system, they’re a relatively low-risk investment. But, is rainwater harvesting worth it?
Pros
- Rainwater is better for landscaping than municipal water
- Catching rainwater saves on utility bills
- Collecting rainwater reduces the potential for flooding
- Rainwater doesn’t contain chemicals or additives like municipal water
- It’s free to collect rainwater
- Potential tax credits or incentives in some areas
- Great for drought-prone areas
Cons
- Rainfall is unpredictable: you may not get as much rainfall as you during years of minimal precipitation.
- Lawn space can be taken up by storage tanks
- Construction and installation are unregulated which means it can be hard to find a good installer if you go the professional route
Takeaways: Rainwater collection systems
Although setting up a rainwater collection system involves a little elbow grease and technical know-how, taking the time to install a catchment system can be a great way to reduce your dependence on municipal water with a high-efficiency irrigation system, you can save water and money while enjoying a verdant garden on your property.